This program allows you to collect force (kg) and rate of force (kg/s) data using the WBB, just as you would do with a load cell in a laboratory.
STANDARD DISCLAIMER FOR EVERYTHING ON THIS SITE: You use this at your own risk. Everything on this site is for example purposes only, and we take no responsibility for anything you do with any of the software or hardware we discuss or provide examples for.
STANDARD DISCLAIMER FOR EVERYTHING ON THIS SITE: You use this at your own risk. Everything on this site is for example purposes only, and we take no responsibility for anything you do with any of the software or hardware we discuss or provide examples for.
Step 1. Install the software
efore you use my software for the first time you must sign up to the mailing list. This will get a few details from you (you can also see this form on the Mailing List tab of this website) to provide us with information about who is using our software and how it is likely to be used. Once you are signed up this will take you to a Google Drive webpage which has the installation software. Simply download and install the setup.exe file first before any of my programs can run. If you have already done this for another program from this site you most likely won't have to do it again. Here's a link to the mailing list and the files needed, just download the folder, extract it and run the "setup.exe" file within it. It doesn't matter where this is saved as long as it is to the computers main hard drive (just leave everything as default). WARNING - the installation file is large (approximately 364MB)
You can download the WBB strength and RFD collection and analysis program from the following link:
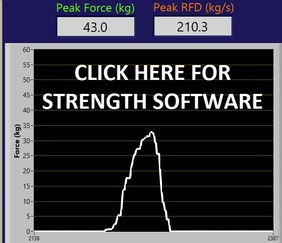
Once this is downloaded double click the file and it will extract itself. The best location to choose is your desktop, that way you will easily be able to find it. Once you have extracted it you will have a folder called "Ross Clark - WBB Strength Tester". Within that folder will be a file called "Ross Clark - WBB Strength and RFD" All you need to do is double click this and the program will open. You will see a screen that looks like this:
Step 2. Connect the Wii Balance Board
To collect data from the WBB you must first connect it. This can be done before opening the software. Follow the guide on the "Setup Instructions" for the Nintendo Wii Balance Board page of this website to find out how to do this if you haven't done it before. REMEMBER - always disconnect it at the end of the data collection session.
Step 3. Running the Program
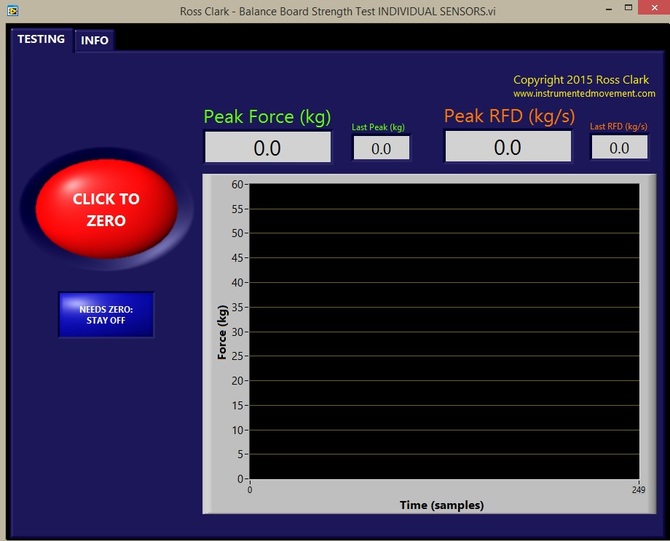
This program is very simple to run. It measures the force through each load cell and provides:
a) Peak Force (for the entire trial)
b) Last Peak (the peak force in the last 5 seconds)
c) Peak RFD (for the entire trial)
d) Last RFD (the peak RFD in the last 5 seconds)
To run a test perform the following steps:
1. To operate the software click the "CLICK TO ZERO" button with the WBB in the testing position. This will vary depending on what sort of test you want to do, and you may want to zero it with the person in the testing position. For example, a recent article of ours examined big toe strength using one of the load cells. To do this the person was positioned with the WBB upside down and their toe resting on one of the sensors. The board was zeroed in this position to remove the weight of the toe from the test, otherwise this would have biased the test to give people with heavier toes higher scores.
2. Once you press this button you have to wait a few seconds for the program to zero. Once the red "CLICK TO STOP" button appears you are ready to apply force. Simply push against one of the sensors on the board (there are 4, located in each corner of the WBB) and you will say the graph rise.
This program was designed for use with one sensor in the board, however you can also use it with 2,3 or all 4 of the sensors at once. It does however only provide one composite result. If you intend on using it for research purposes please calibrate the force data in the testing position you are using. Calibration is simple, just apply a series of known loads to the sensor and record the values that the program provides. You will need to wait > 5 seconds for each load because you want to record the Last Peak value once the force trace has stabilised. Do this with at least 3 loads, then put the known loads and recorded values into Microsoft Excel and plot a scatter plot with a linear line of best fit. Then use the regression equation to create your calibration factor. If you are unfamiliar with how to perform a sensor calibration you can refer to this page on our site.