RehabTools
COURSE PRACTICALS

Teaching Tools

Recording, video preparation and measurement tools used in SPX101 and SPX102.

Record and prepare a video

Record → review → blur where required → inspect → save and submit.

Save the recording to your device before opening it in the face blurring app. Files are not passed automatically between apps.

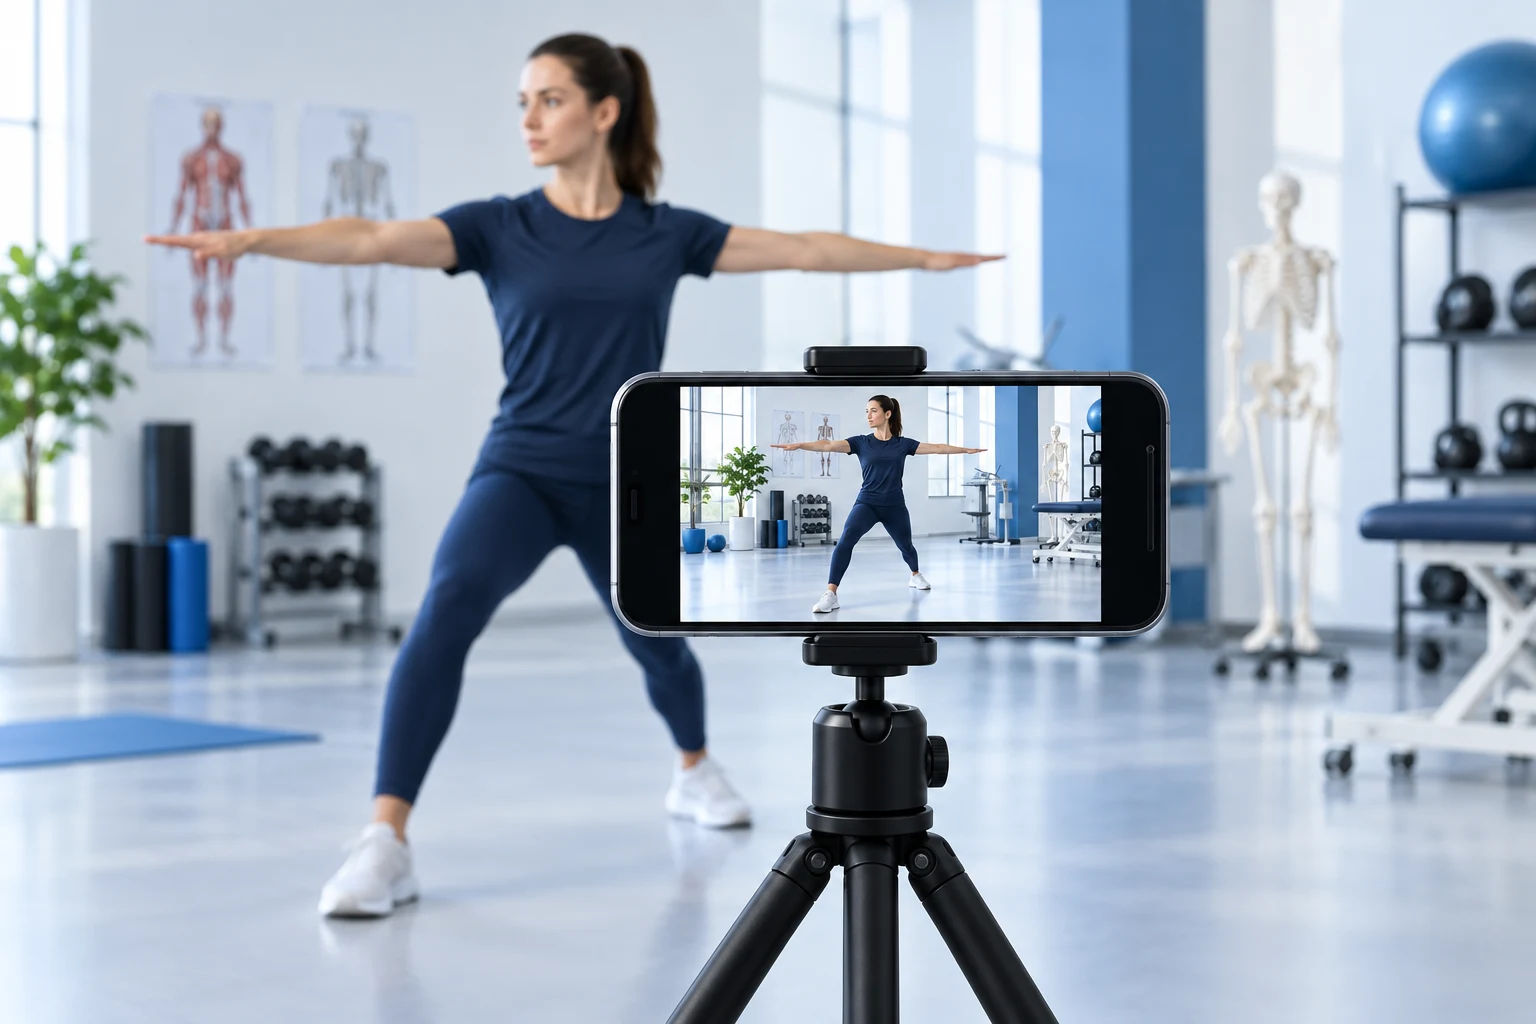
SPX102 · Video recordingA phone on a tripod recording a movement demonstration in an exercise studio.

Phone practical recorder

Record practical assessments using a phone camera and microphone, then save the video to the device.

Allow camera and microphone access, and keep the page open until the recording finishes saving.

Open recorder
Setup guide
  1. Make a short test recording and play it back to check framing and sound.
  2. Enter the identifier required by your course; the app uses this label in the recording filename.
  3. Record the practical. After stopping, keep the page open until saving finishes.
  4. Open the saved file and confirm it plays. Use a recovery copy if the automatic save was blocked.
Next: prepare your video →
Understand the method

The browser captures camera and microphone input, then finalises a playable file. Stopping capture, requesting a download and confirming that the file saved are separate events.

Teaching notes

Learning objective: Produce a complete, audible practical recording.

Discussion: What would you check before repeating a recording because a download appeared to fail?

Follow the assessment instructions for your course. Review the setup guide before the practical.
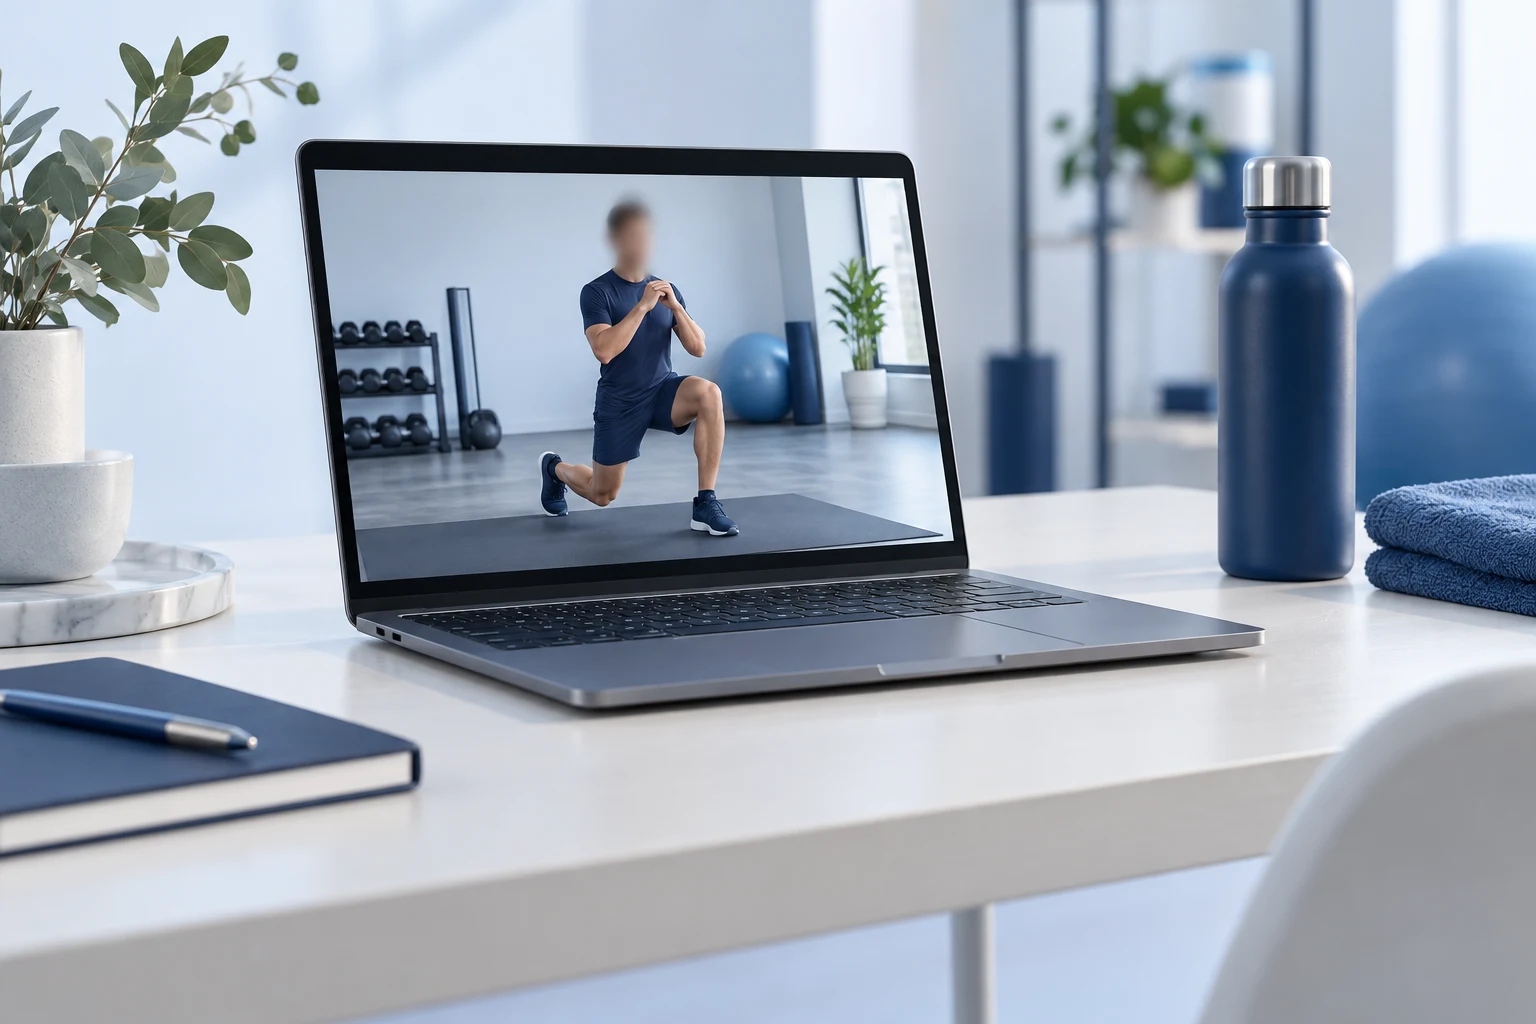
SPX102 · Video preparationA laptop showing a practical video with the person’s face blurred.

Face blurring video converter

Blur faces in a recorded video and download the processed file.

Review the processed video before sharing; automatic detection can miss faces.

Prepare a video
Setup guide
  1. Save and review your original recording first.
  2. Choose the saved video in the face blurring app. Processing runs on the device.
  3. Play the processed result and inspect sections with movement, side views and small faces.
  4. Request the download, then check the saved file. Consider voices, names and other identifiers before submitting through your course system.
Understand the method

Face detection identifies areas to blur; missed detections remain visible. Blurring faces does not remove voices, names or all other identifying information.

Teaching notes

Learning objective: Inspect a processed recording before sharing it.

Discussion: Which identifying information could remain after faces have been blurred?

Follow the assessment instructions for your course. Review the setup guide before the practical.
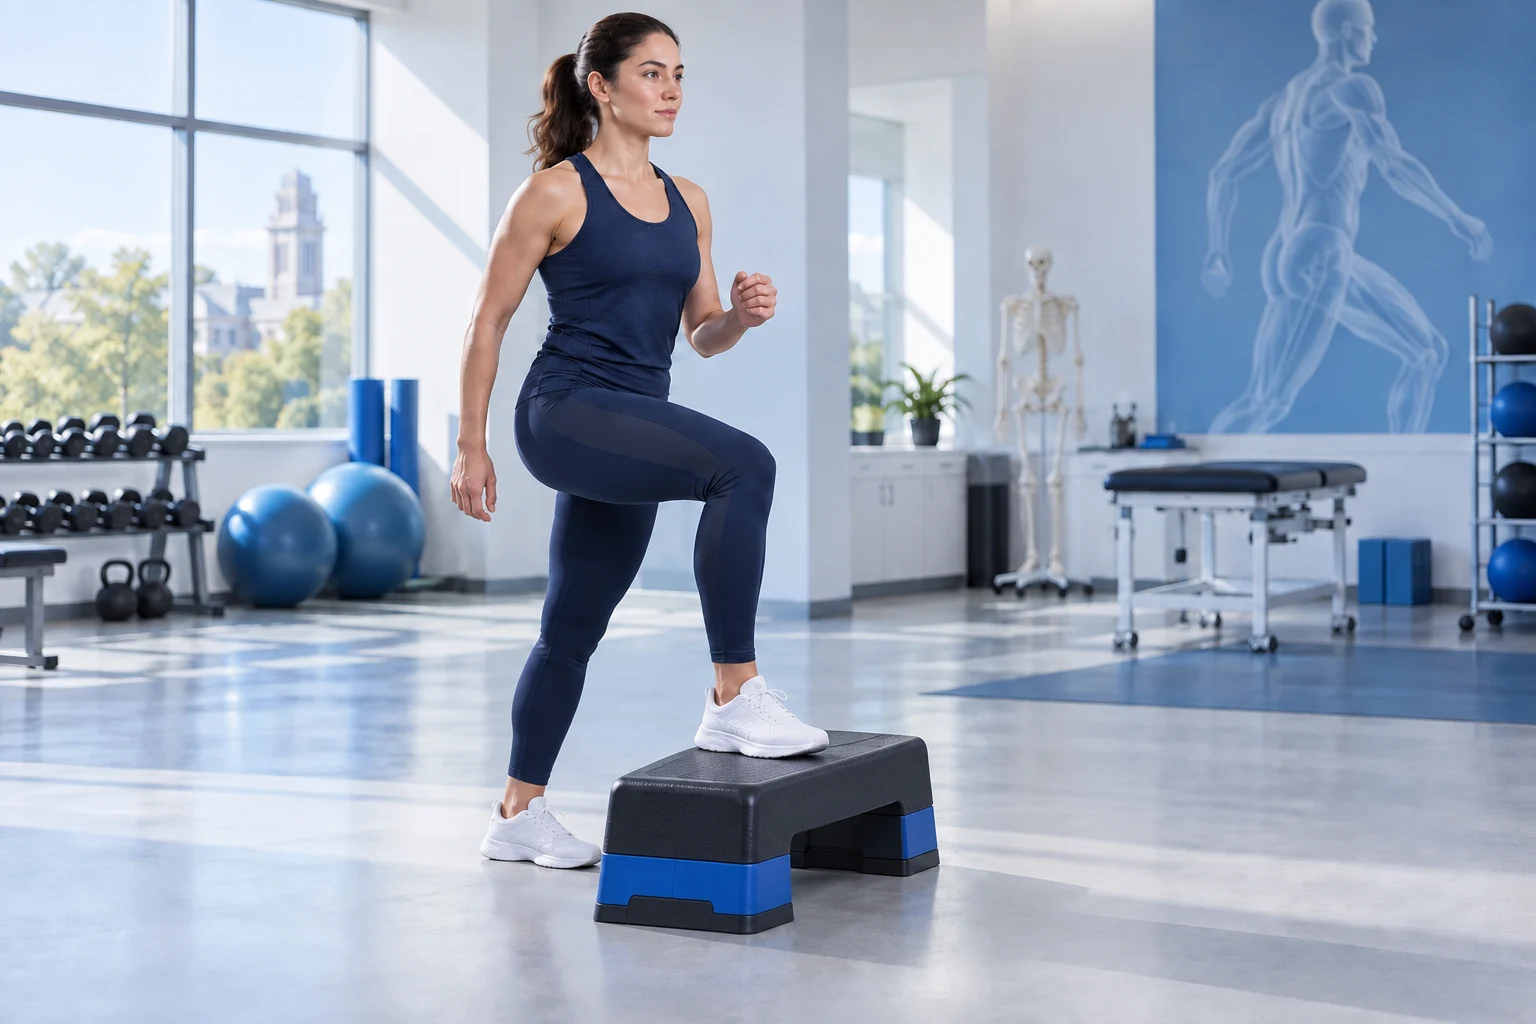
SPX101 · Exercise testingA woman stepping onto an exercise step in a teaching studio.

Modified Chester Step Test

Run a timed stepping activity, record heart rate and RPE, and estimate VO₂max.

Uses four one-minute stages. The result is an educational estimate, not a validated standard Chester Step Test result.

Open step-test tool
Setup guide
  1. Follow your course screening and stopping procedures. Select the specified step height and heart-rate method.
  2. Use the warm-up and stage metronome. This modified activity uses four one-minute stages.
  3. Record heart rate and RPE at each stage. Keep interruptions in your practical notes.
  4. Inspect the entered observations and estimated result, then download the CSV or print view.
Understand the method

The app fits heart rate against estimated stage oxygen cost, then extrapolates to predicted maximum heart rate. The extrapolated result is not a direct measurement of oxygen uptake.

Two distinct points can fit a line perfectly. An R² of 1 with two points is not evidence of a reliable prediction. More observations do not remove the modified protocol’s limitations.

Teaching notes

Learning objective: Distinguish measured heart rates, estimated stage oxygen costs and extrapolated VO₂max.

Discussion: Why can two observations give a perfect line fit without establishing a dependable estimate?

Follow the assessment instructions for your course. Review the setup guide before the practical.
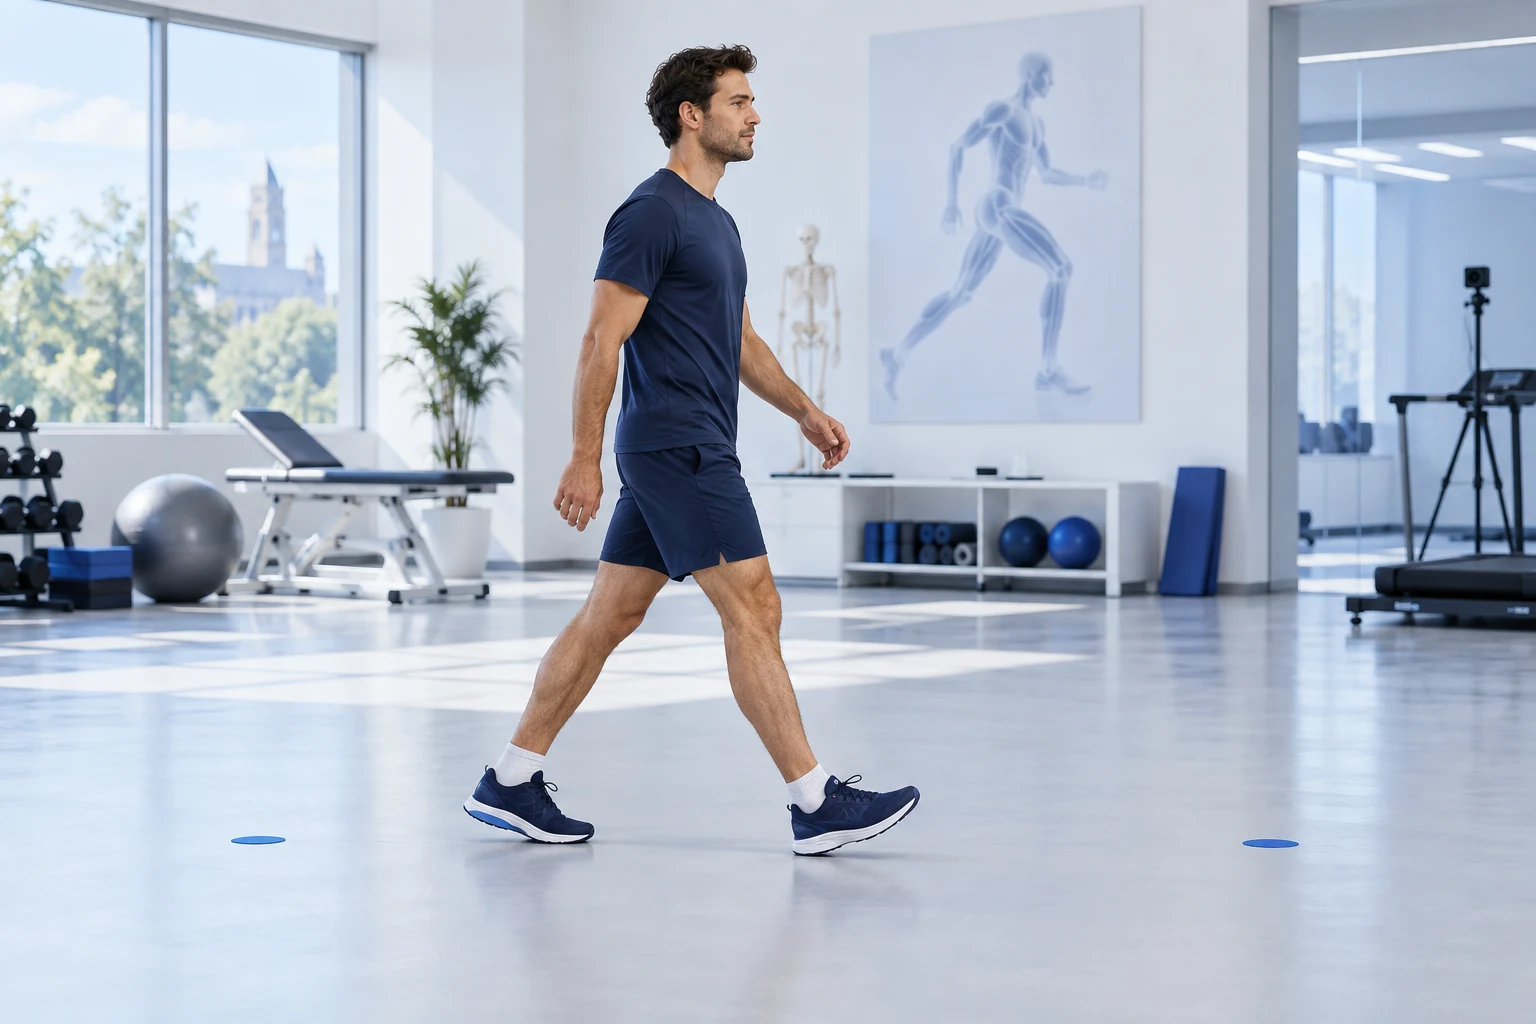
SPX101 · Walking assessmentA man walking between floor markers in an exercise studio.

Gait speed measurer

Calculate walking speed from a measured distance and time, using manual entry or the built-in timer.

Use consistent start and finish points when comparing attempts.

Measure gait speed
Setup guide
  1. Set the measured distance and agree the start and finish timing events for your course protocol.
  2. Use metres and seconds. Enter a recorded time or use the live timer.
  3. Record each trial separately, including distance, time, speed and protocol.
  4. Keep example values separate from participant measurements. Compare only compatible trials.
Understand the method

Example: timing a four-metre walk

5.0 s → 0.80 m/s

Changing the stopping time changes the calculated speed, even when the distance stays the same. These example values are not saved as a trial.

Teaching notes

Learning objective: Explain how timing choices change calculated walking speed.

Discussion: Over four metres, how much does a half-second timing difference change the result?

Follow the assessment instructions for your course. Review the setup guide before the practical.

Launch links open the existing course apps. Lectures and learning activities →